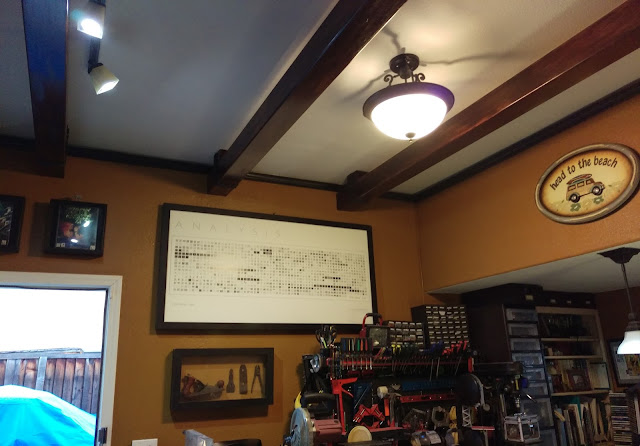
 Ever since I finished constructing the Monkey Cave, I've thought about adding ceiling beams to complete the look.
Not only could they help even out the difference in height due to the drop ceiling for the garage door, but they could give the Cave some interest and rustic appeal, kind of like Tuscany, minus Diane Lane and plus 3D printing and laser cutting.
Exposed ceiling beams, though, aren't really native to construction in this part of the country. Instead, I found that most beams are really "faux" versions made of lightweight foam. Light on weight doesn't mean light on the pocketbook, however as I'd have to spend over $500 to get them shipped, which seemed too much to me to pay for a little Tuscanification.
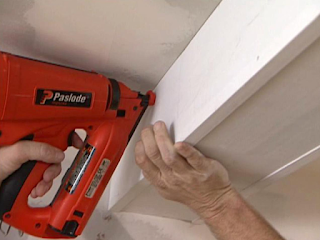 I also considered making "Box" beams from separate planks nailed together. While hollow, they would still be quite heavy compared to foam beams. More importantly, they wouldn't look solid, as it would be very difficult to hide the seams and finish the planks well enough to provide the illusion of the one piece beams I wanted.
Because no solution seemed ideal, for a long time I shelved the idea entirely of adding ceiling beams at all.
Recently, though, the opportunity to revisit ceiling beams came when pondering upgrades to my laser cutting setup. Up to now, I used a flexible hose to route the fumes out a vent opening in a nearby exterior wall. But because the hose crossed a walkway and was inconvenient to connect and disconnect, I wanted a more permanent solution. I came up with the wacky idea of ducting the fumes across the ceiling instead, perhaps hidden within a faux ceiling beam.
Once again, I looked into foam beams, but found that their walls were simply too thick. To get a big enough opening inside to provide adequate airflow, I'd need at least a 7x7 beam, which would be both too big and even more expensive than before.
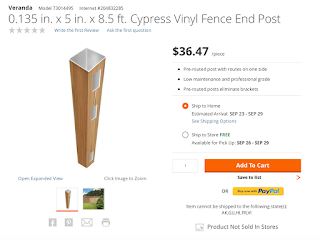
Brainstorming for other materials to use, I came across a solution I'd never seen used before: PVC fence posts. They're light, hollow, come in wood grain finishes, and Home Depot had some "end posts" for sale at a really good price. They could work perfectly if I could tape up the side openings, connect some of together to extend their length, and perhaps add a faux finish on top to make them look more like stained wood.

 To reach the ceiling, I also needed to add a vertical section. For this I used some oval galvanized ducting. I added pop-riveted sheet metal to close the ends and outlets at the top and bottom.
I mounted the assembled unit in a corner where there was an offset in the wall, allowing me to cover it up later by extending the front-most section.
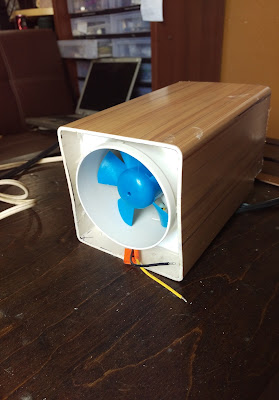 To pull air through the duct, I mounted a 12V bilge fan into a short length of post, laser cutting an acrylic plate to seal the fan in place.
The fan would be mounted at the end of the ducting run just inside the vent opening in the wall. The wiring to power it would run inside the ducting to the laser cutter.

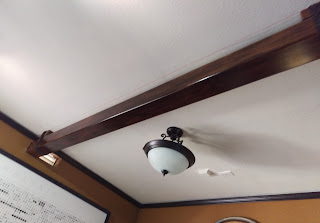
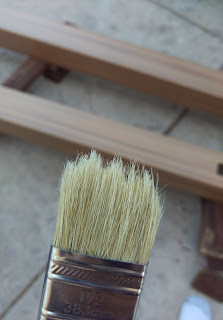 To finish off the beams, I cut up the edge of a chip brush to make it ragged and used it to dry-brush two coats of mahogany gel stain onto post segments.
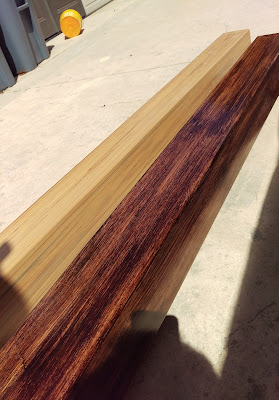 Despite being fairly loose and random with the paint brush, I was pleasantly surprised by the final effect. Even with minimal effort, it looked very convincing even close up.
The vent opening in the wall was located a few inches below the ceiling. To match it, the ceiling beam duct couldn't be mounted directly to the top. Instead, I decided to use short standoff blocks--fastened to the ceiling with toggle bolts and wrapped with short sections of post--to hold the beams at the proper location. Besides adding the needed spacing, the standoffs also provided a way to hide the joins between separate sections of pipe.

Designed specifically for faux ceiling beams, Home Depot sells rubber strips made to resemble distressed bronze straps with rivet heads. Wrapped around the posts at the standoffs, they hide the seams while also providing the perfect accent detail.

 I added framing around the vertical duct, covered it with drywall, and then taped and buttered the seams.

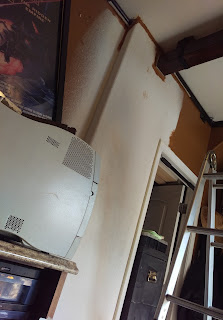 I sprayed it with a texture gun and let it dry. When painted, it nicely matched the adjoining wall.
Finally, I added two non-functional beams to complete the installation. Here is the completed project.
